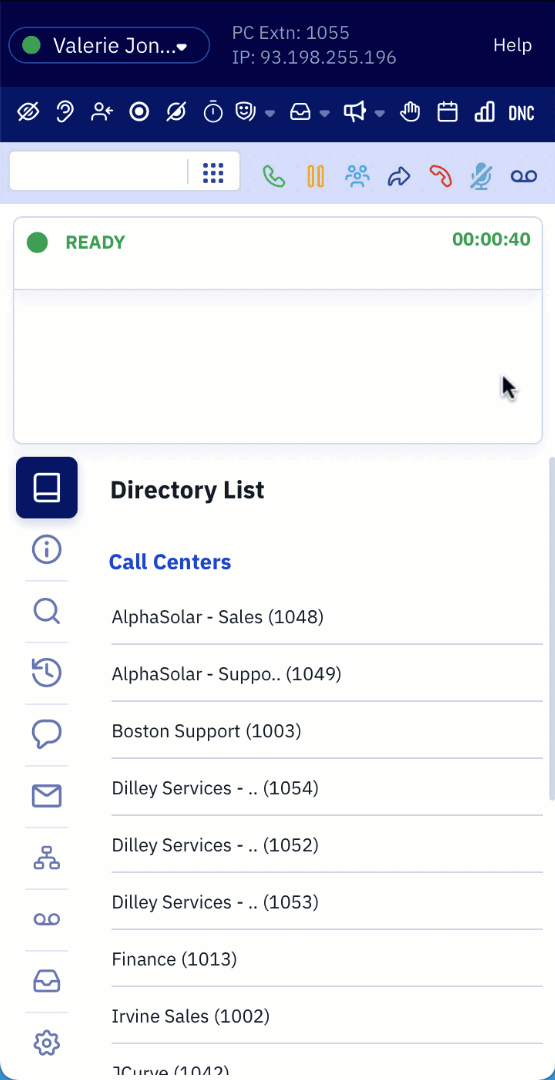
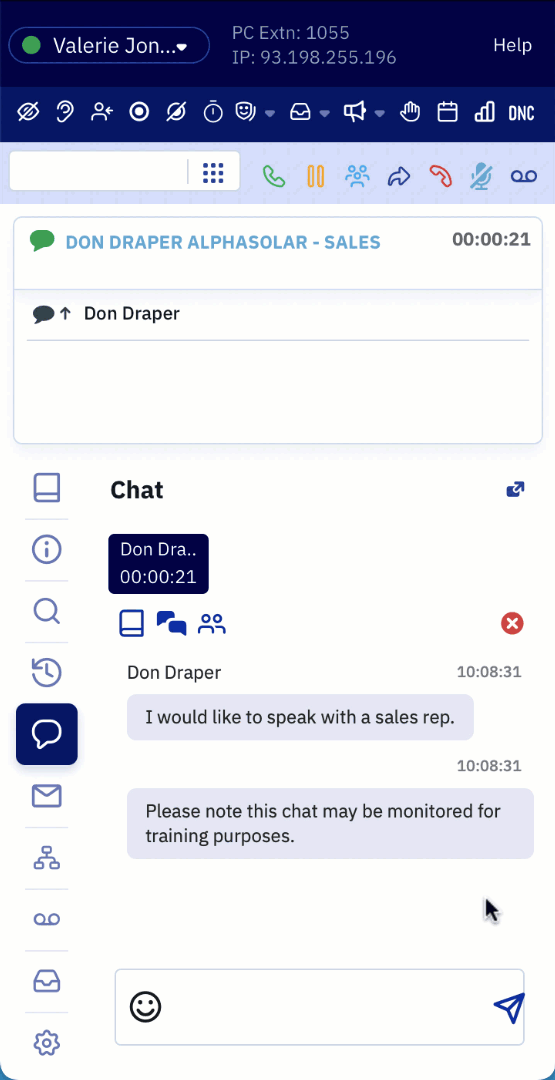
Accepting a chat
Customers and visitors to your company website may submit a request to chat with a contact center agent. A chat request in the queue will be offered to agents similarly to voice, with the ‘Accept’ and ‘Decline’ buttons located in the notification window.
- Click the 'Accept' button from the media notification window.
- Click in the text field, type your response in the form, and hit 'Enter' or click the send icon.
- Click 'End' in the Media Display, or at the top of the chat window, when finished to dismiss the chat session.
Accepting a Chat via Toolbar
Note: Similar to all media types, access to Chat must be assigned to the Queue the user belongs to. Your Administrator must install and configure the Contivio Chat for this feature to be enabled.
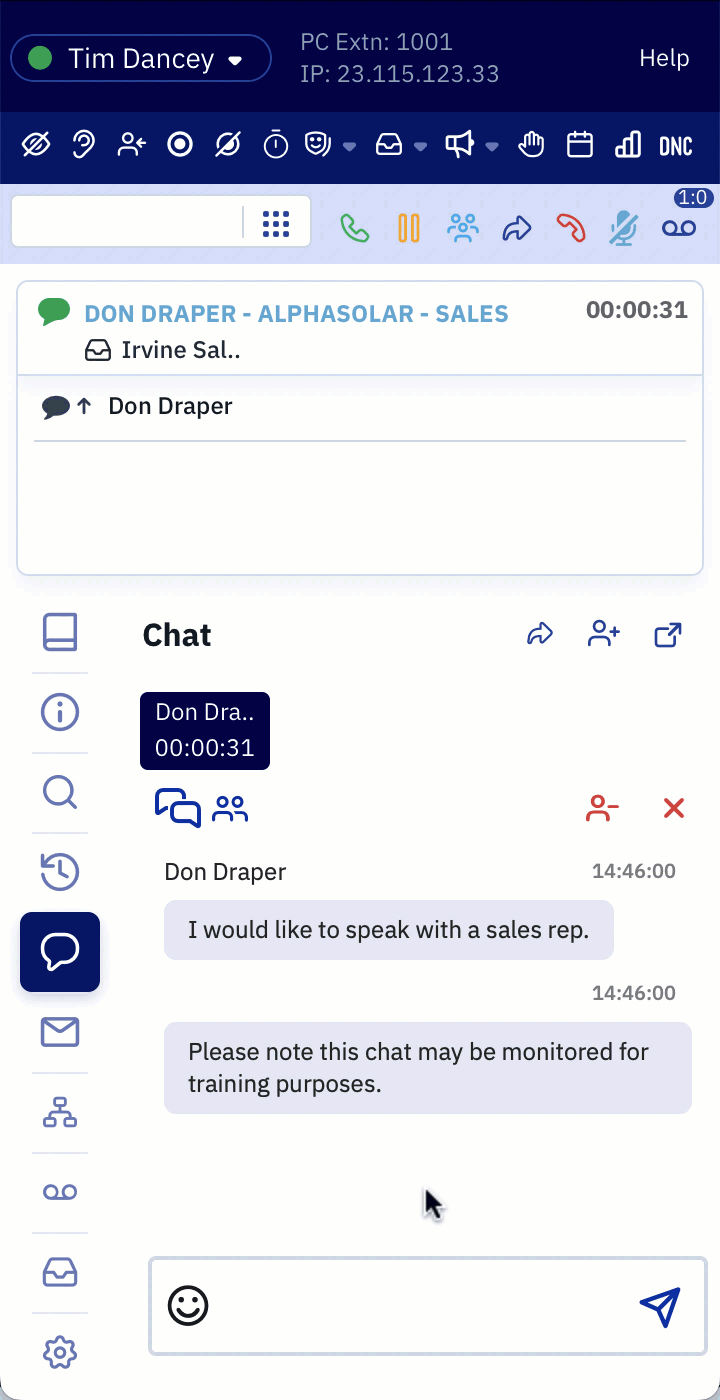
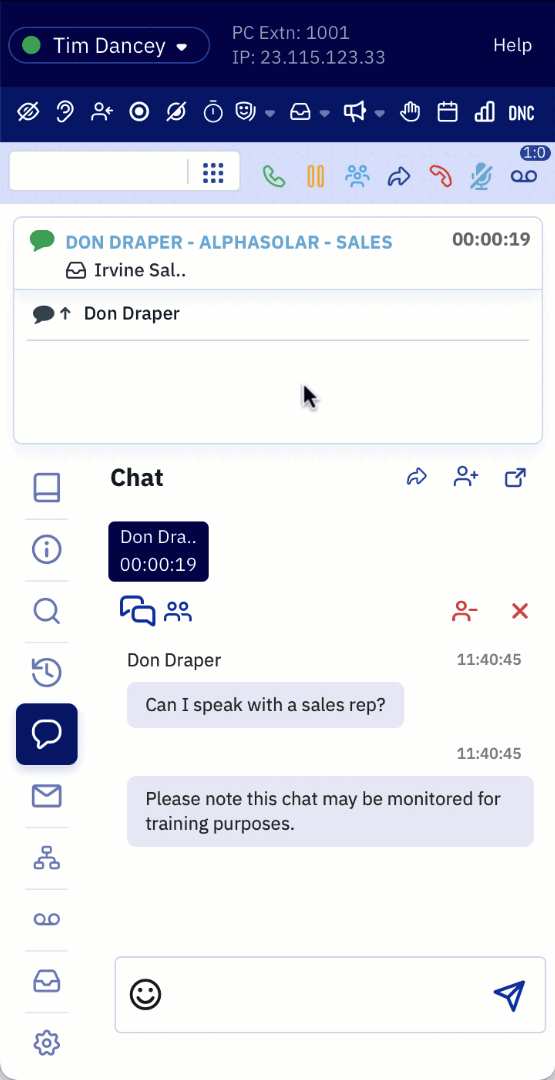
Handling multiple chat requests
Contivio allows for multiple chat sessions to be handled through the Contivio Softphone.
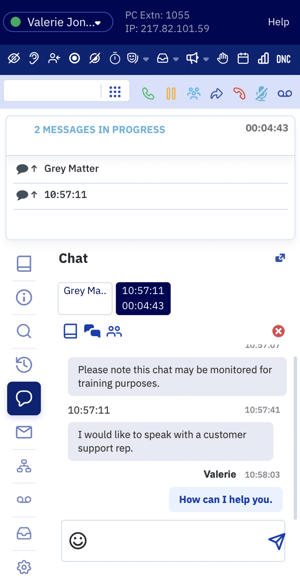
- Click ‘Accept’ in the notification window to answer an incoming chat. Any ongoing chat sessions will remain present.
- Multiple chat sessions will be 'Tabbed’ across the Contivio Client as seen in the image on the right.
- Toggle back and forth between chat threads at any time. You can have up to five (5) concurrent chats running at a single time.
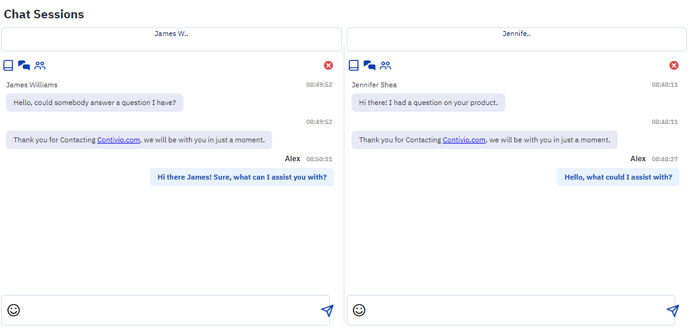
Pop Out Live Chat
The 'Pop-Out' feature will allow you to view multiple chat sessions simultaneously and expand the Live Chat GUI outside of the Contivio softphone. Simply click on the 'Pop Out Chats' icon ![]() to expand all of your concurrent chat sessions.
to expand all of your concurrent chat sessions.
Transfer Chats
Transfer live chat conversations directly to a queue. In essence, this mirrors what a cold transfer would look like over a voice call.
- Select the ‘Transfer Chat’ icon on the chat session tab.

- Select the desired queue from the 'Chat Text List' then click on the ‘Transfer’ button.

- Transferring a chat session will release you from the chat session immediately.
Conference Chats
Conferencing an agent into a Live Chat
Similar to a consultative transfer on a voice call, bring another agent into your live chat thread to better assist customers.
- Expand the available agent list by clicking the 'Plus' Icon
 . An agent's availability will be represented by either a Green, Amber, or Red bubble next to their name.
 - Click the filter icon
 to search agents by specific queues, or manually type the desired agent's name within the text field.
 - Click the desired agent, then click the 'Join Chat' button.

- Once the new agent has joined the conversation, you can remove yourself from the thread at any time by clicking on the red X icon
 .
. - Agents have the ability to remove other agents from the chat at any point in time by clicking on the 'Minus' icon
 .
.
Reach out to an agent before Conferencing them into a live chat
Chat with agents directly before bringing them into a chat thread.
 To search for available agents and launch a personal chat conversation, expand the available agent list by clicking the 'Plus' Icon . An agent's availability will be represented by either a Green, Amber, or Red bubble next to their name.
- Click the filter icon to search through a list of available agents, or type the desired agent's name within the text field.
- Click on the agent's name then click 'New Chat'. This will launch a separate chat between you and the agent you've selected.
- Once you are ready to bring in other agents to speak with the customer, return to the original chat thread, search for the desired agent, and click the 'Join Chat' button .
- Once the new agent has joined the conversation, you can remove yourself from the thread at any time by clicking on the red X icon .
- At any point in time, agents have the ability to remove other agents from the chat by clicking on the 'Minus' icon .
Note: Run up to five (5) chats concurrently.
Using Canned Responses
-
Click on the 'Select Canned Message' icon.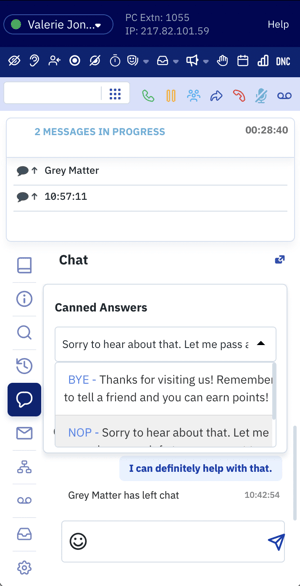

- Select the drop-down arrow to view all entries.
- Select the desired canned answer, and click the 'OK' button.
- The response automatically populates in the chat text field. The message can be sent immediately, or the agent can make changes before clicking send.
Note: Canned responses must first be configured by the system administrator.