If your call center configuration allows it, you can select or modify your outbound caller ID to ensure you present the right phone number when making outbound calls. This feature is especially useful for creating a local presence, which can help improve call answer rates.
How to Set Your Outbound Caller ID: 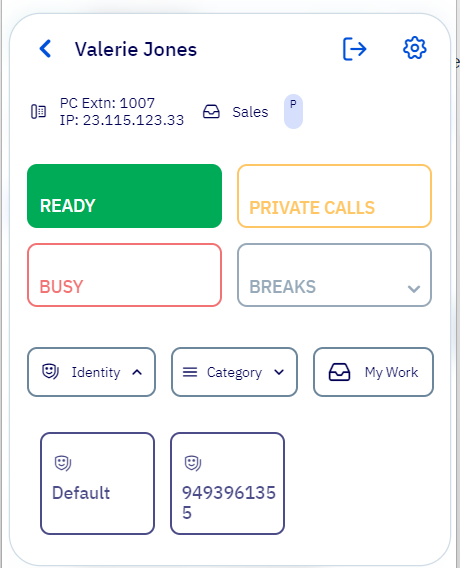
- Access the Identity Menu: While logged in as an agent, look for the identity dropdown menu. This can usually be found near your agent status bar.
- Select a Phone Number: From the dropdown, select the phone number you wish to use for outbound calls. This number will now be your caller ID.
- Confirmation: Once selected, you’ll see your new phone number reflected in your agent status bar, indicating that your outbound caller ID has been updated.
Important Note:
Not all environments will have this option available. If the dropdown is not visible, check with your system administrator to confirm if this feature is enabled for your account.
This simple process ensures that your outbound calls will display the phone number you selected, helping you maintain a professional and localized presence.